What Are The Best Tips For Breaking In A New Baseball Glove?
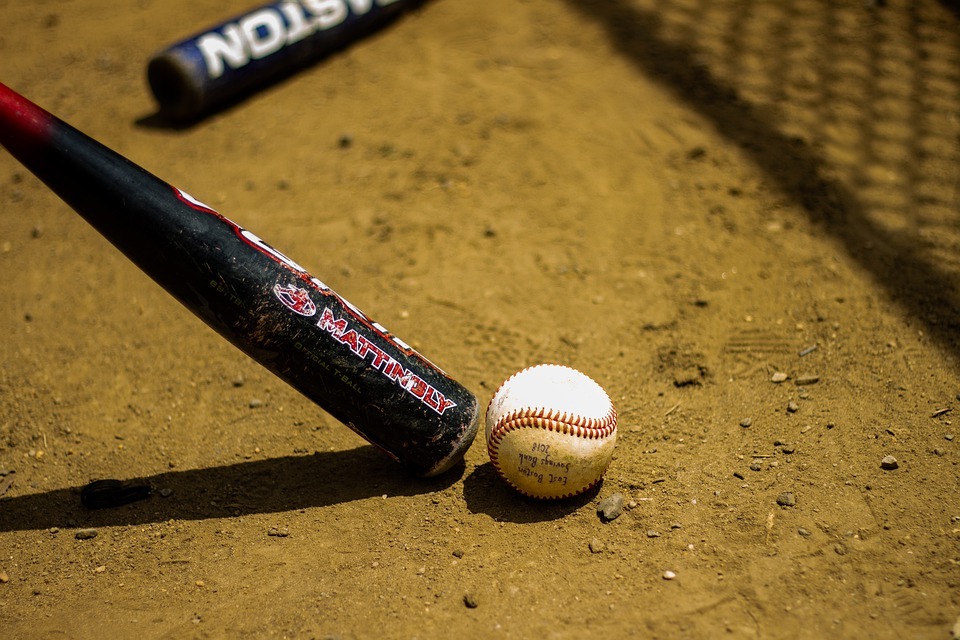
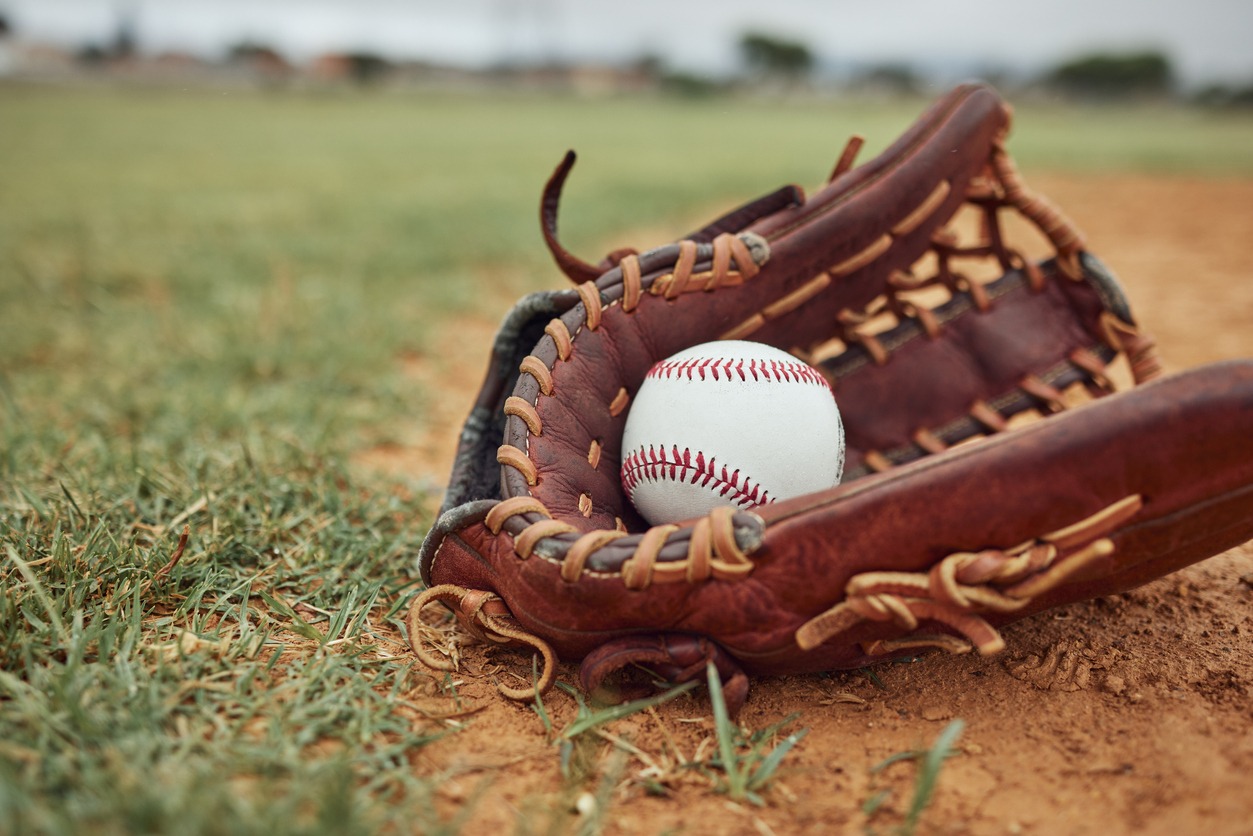
From the nice smell to the great look and the fantastic feel on the hand, there’s nothing truly compares to the feeling of getting a new glove. All is good until you first try to give a little squeeze, as it will be nearly impossible to do due to the stiffness and rigidness of the glove. That’s where breaking in comes in. It’s a crucial step that will allow your glove to reach its fullest potential and hold up well for the years to come.
While there are many methods available to break in and soften your glove, some of them are counter-productive. If you’re not cautious, you can actually do more harm than good. To avoid such a scenario, we’re going to talk about the best tips for breaking in a new baseball glove properly. Thus, also helping you get the perfectly broken-in mitt for your next game.
Why Must New Baseball Gloves Be Broken In?
Among the primary characteristics that make leather a prized and versatile material is its high durability. The catch is that unused leather is typically very stiff and rigid as a rock. Thus, requiring it to be loosened or softened up. You’ll know how it feels if you try catching a ball with a brand new glove. You’ll find it too difficult to open and close your hand and hold onto the baseball.
The breaking-in period varies depending on the grade of the leather, maker, model, and construction. The timeframe ranges from days to weeks. Nevertheless, breaking in your new leather glove is all worth all the patience and effort. If you do it properly, you’ll have a glove that’s comfortable and flexible to wear for you to use during practice or a game.
Traditional Method: The Best, Simplest, and Safest Way to Break In a New Baseball Glove
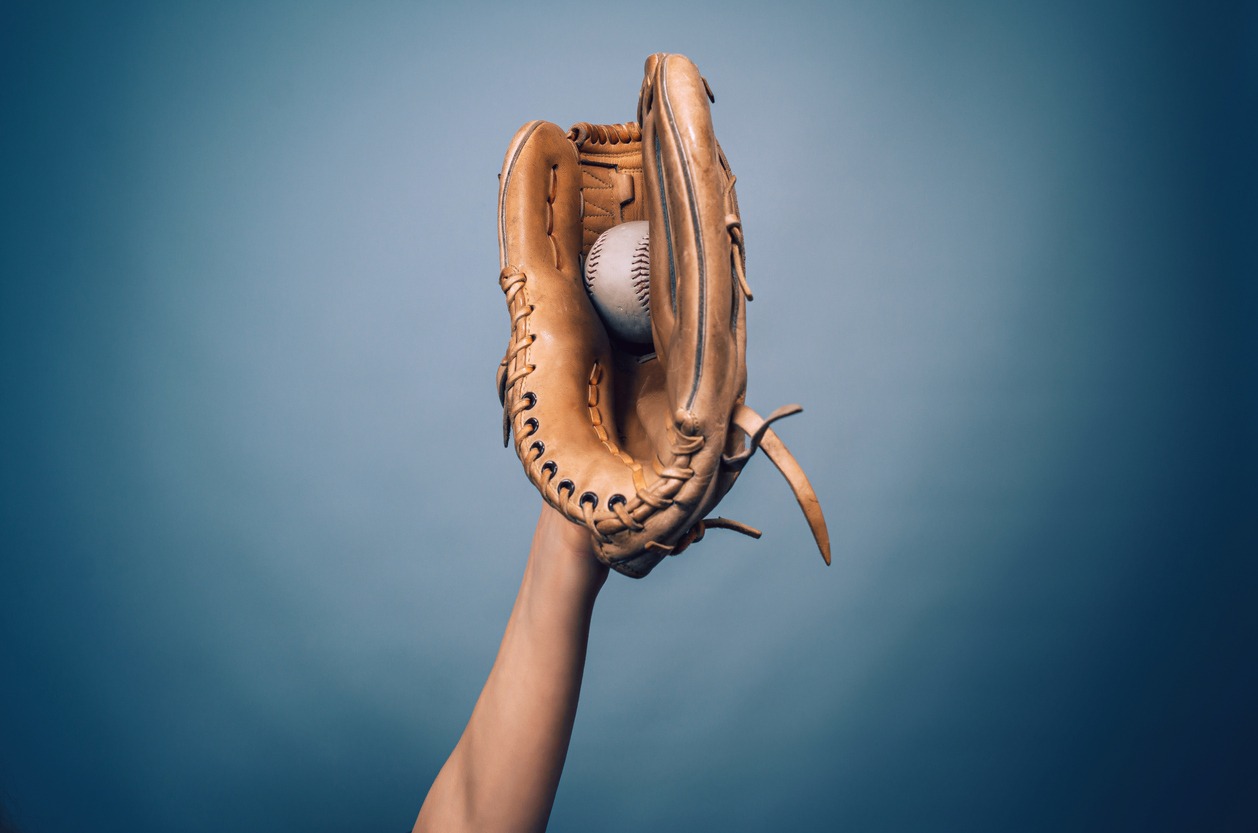
You might get surprised, but the best and simplest way to break in a new baseball glove is to catch baseballs with it. Through time and with continuous repetition, the glove will naturally stretch mold into your hand, provide a custom fit, and get a form adapted to the manner how you catch the ball.
The more times you use the glove during practice, the more it will be properly broken in. Eventually, you’ll get a mitt that allows the best movement, feels natural on your hand, and acts like an annex of your arm - you won’t even notice it’s there!
Though it is obviously the most time-consuming method that can take multiple hours over several days or weeks, it’s still the most recommended option. That’s because the traditional method significantly reduces any potential damage to the leather unlike the other available options.
Moreover, “shortcut” methods may help expedite the process of softening your glove, but they may not produce the same high-quality results compared to when you just simply repetitively use your gloves and allow it to break in naturally. If you can wait, just gather your friends, go to a ballpark, and throw and catch all the balls you can take. Soon, you’ll enjoy a nice and soft glove once it sees the right amount of action.
If you want a baseball glove that will last long after breaking it in, you should get a glove that is produced by a renowned brand. Check out a few Japanese Baseball Glove Manufacturers if you want more information on durable and reliable baseball gloves.
Other Methods to Break In a New Baseball Glove

While the traditional method is the best, simplest, and safest way to break in a new baseball glove, it wouldn’t help if your team has a game in a few days and you need to have a nicely broken-in glove. Fortunately, there are other methods that you can use. Just make sure to devote extra caution to avoid harming the leather. These methods include:
1. Manhandling
One quick way to break in a glove is to use some aggression. All you’ll need in this method is a glove mallet or glove hammer, a bucket of warm water, a cup, and a soft surface (like carpet or a pillow). It’s best to get a real glove mallet or hammer at your favorite sports store as this tool is specifically designed to be used on baseball gloves. If not, you may use your old baseball to create a DIY mallet/hammer.
After gathering all the necessary items, start the breaking-in process by filling the cup with warm water (not boiling) and pouring it over your new baseball glove. Doing so helps the leather become malleable and easy to work with. Never soak the glove or else, it will suffer from subsequent overdrying and saturation.
Once the glove gets slightly wet, use the mallet and strike the pocket of the glove while it rests on the carpet or a pillow. Use as much pressure as you can so the pocket becomes pliable and so you can easily catch balls.
Alternatively, you may skip wetting the leather and simply wear the glove as you would normally wear it. Take the mallet using your throwing hand and strike the glove’s pocket. That way, you can have a custom fit somewhat similar from when you do the traditional method, but to a lesser extent. Lastly, take the glove off and smash the back side to break in the glove more.
2. Glove Oil and Conditioners
While it’s technically not a break in technique itself, applying glove oil and conditioners can do wonders for your new baseball glove. You can use them before, during, and after the breaking-in period and they will help in softening the leather.
However, keep in mind that you should only use manufacturer-approved products, which you can find in most brick-and-mortar and online sporting goods stores. Applying Vaseline petroleum jelly, linseed oil, olive oil, mink oil is a big no-no. These items will only damage and saturate the leather, causing it to dry out and feel heavy or greasy.
You can refer to the glove’s manual to see what glove oil and conditioner products the manufacturer recommended. Some products are specifically made to match the leather that the manufacturers use and to better maintain the health of the leather.
Glove oils come in a liquid-type form. If you decide to use them, just place a small amount to a cloth or sponge and use it to coat the entire glove thinly and evenly. Avoid directly applying the glove oil, as it can be too concentrated and may stain the leather.
Meanwhile, glove conditioners come in a “paste” form. If you opted to use glove conditioners, do the same and don’t overdo it. A thin coat can go a long way. However, you may need to apply conditioners more regularly than glove oils throughout the season.
3. Glove Steaming
Another quick, easy, and effective method to break in your new baseball glove is through steaming. However, it comes with a price. While steaming your glove will soften it and make it ready for the game, it will make the leather less durable. Players who have used this method saw their gloves failing to hold up its shape well over time until it’s no longer fit to use.
To steam your baseball gloves, all you need to do is first apply a glove conditioner, which allows the leather’s pores to open up and soften during the process. You can then steam it to around 150 degrees for about 3-6 minutes, depending on how soft you want your glove to be. Lastly, use a glove mallet to hit the glove and loosen up the key areas.
Remember, this option is only viable if you are badly short of time, such as needing to have one for a game tomorrow. Just expect that your glove won’t last more than a few seasons. If you’re not in a time crunch and want to steer away from various issues with your glove down the road, the traditional method is still the best way to go.
4. Glove Wrapping
You can also use glove wrapping as a supplementary method to further break in your glove. Wrapping the glove helps the glove hold up its shape and prodive extra stability to its pockets. Moreover, glove wrapping also protects it from dirt, dust, and moisture. Thus, preventing the deterioration of your glove through time.
To wrap your glove, simply close the glove with a ball in its pocket. Ensure that the pinky finger and thumb touches each other. Use a shoelace, string, rubber bands, or anything that can keep it in its folded shape. Leave it for a few days before unwrapping. Then, repeat the process. Over time, the leather will stretch and make the glove more pliable and easier to use.
Wrong Ways To Break In a New Baseball Glove
Above, we’ve listed different safe methods to break in your new baseball glove. Now, it’s time to discuss some popular or unorthodox breaking-in methods you may stumble across online, which may soften your glove but will significantly damage and reduce its lifespans. Some of break in methods you must not do under any circumstances include:
1. Baking/Microwaving
Read various baseball forums and you’ll see lots of people advising to stick your new baseball glove in the oven or microwave to speed up the break in period. Never commit such a mistake, as it can cause irreplaceable damage (like your gloves getting dry or brittle). Though hot air softens it up, the extreme heat will damage the leather and laces, shortening the life of your glove by half.
Moreover, microwaving or baking your glove can also cause fire, if left unattended. If there are any metal parts on your baseball glove, the risk dramatically increases. Lastly, ovens and microwaves are meant for food. So, it’s best to just keep your mitt out of them unless you’re planning to eat it for lunch or dinner.
2. Leaving the Glove Inside Car
You know how cars can get extremely hot under the sun, seemingly like a mobile oven. As such, it’s no surprise that some people assume that it’s a great idea to leave a new baseball glove on a hot dashboard. However, this method only produces the same results when you bake or microwave a glove: a dried-out, brittle one that can easily break. What’s even worse is that no glove oil or conditioning can fix it, putting the money you spend for it into oblivion.
3. Putting the Glove Under A Mattress
Never place your glove under a mattress. While this method is somewhat comparable to glove wrapping, the weight is often too much, causing damage to the leather and leading the glove to break-in improperly. Thus, ultimately resulting in a glove flattened like a pancake. A glove should not be flat and rather should remain its form. If it’s floppy, it will be hard to catch a ball and keep it, as you need to continually squeeze your hand to keep the ball from falling out.
4. Using Shaving Cream
Another common but wrong tip for breaking in a glove is using shaving cream as an alternative for glove conditioner. During the early days, shaving creams contained an ingredient called lanolin, a natural oil derived from sheep that happened to be great in softening leather. However, most shaving creams no longer have lanolin. If yes, it’s only for a little, unhelpful amount.
What’s present in most shaving creams today are chemicals and artificial compounds, such as alcohol, isobutane, propane, sodium lauryl sulfate, that pull the moisture out of the leather and dry it out. Not to mention that some chemicals found in shaving cream actually cause the fibers in the leather to weaken and deteriorate.
Takeaway
As you get your new baseball glove, it’s best to accept that it will take considerable time to break it in and the best way to do so is simply by catching lots of balls with it. If you need to expedite things, you may consider the other methods but devote extra caution to avoid the risks and downsides that come with them. So, there you have it! Be sure to read this guide to baseball uniforms so you can sport the best gear while enjoying your new baseball glove.